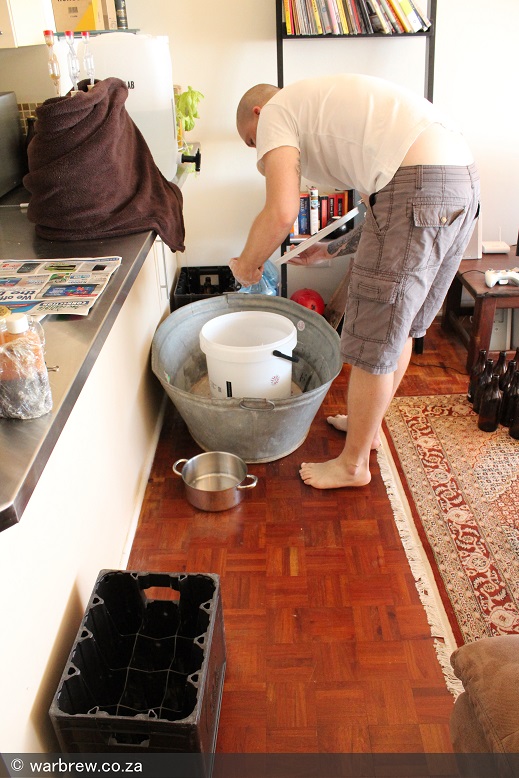
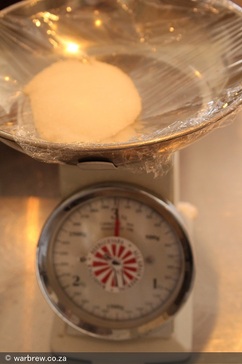
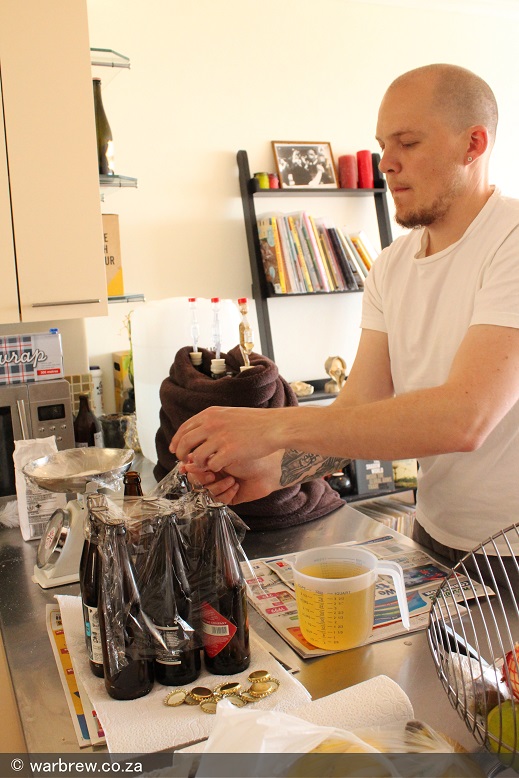
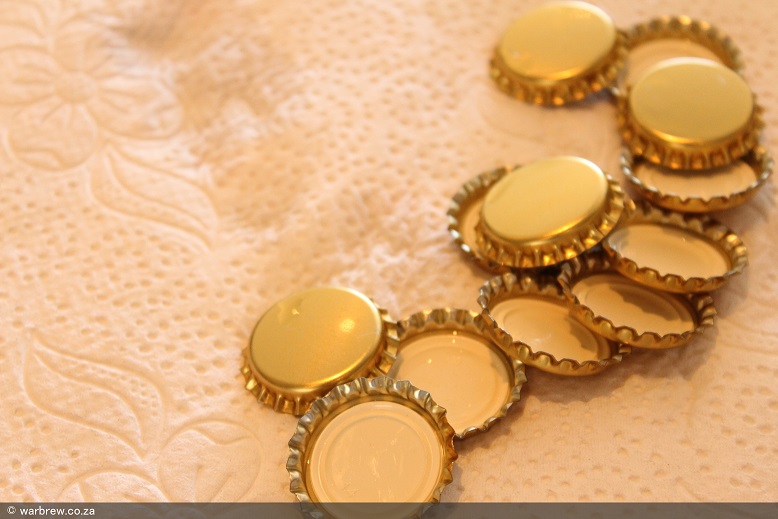
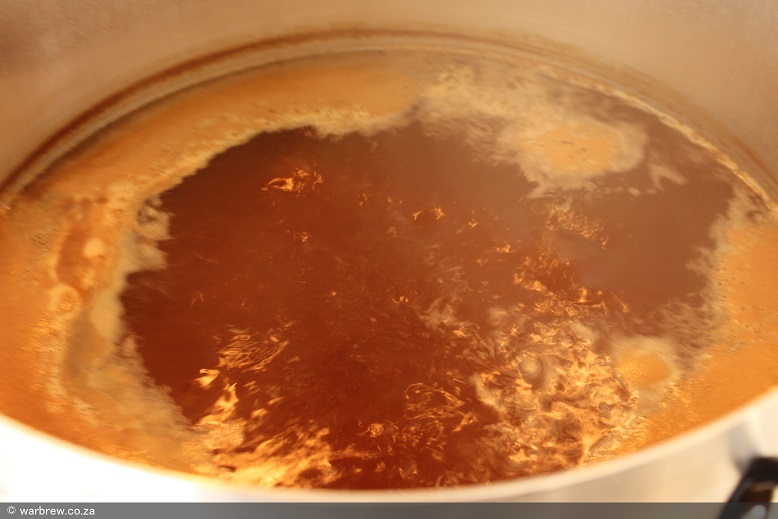
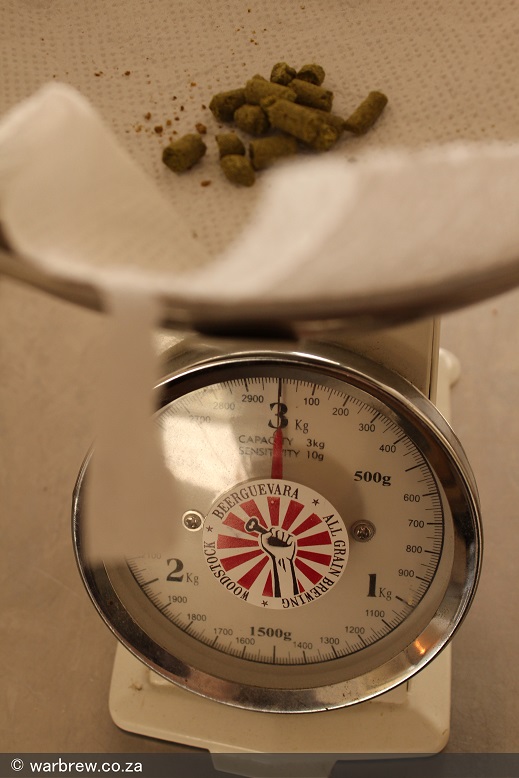
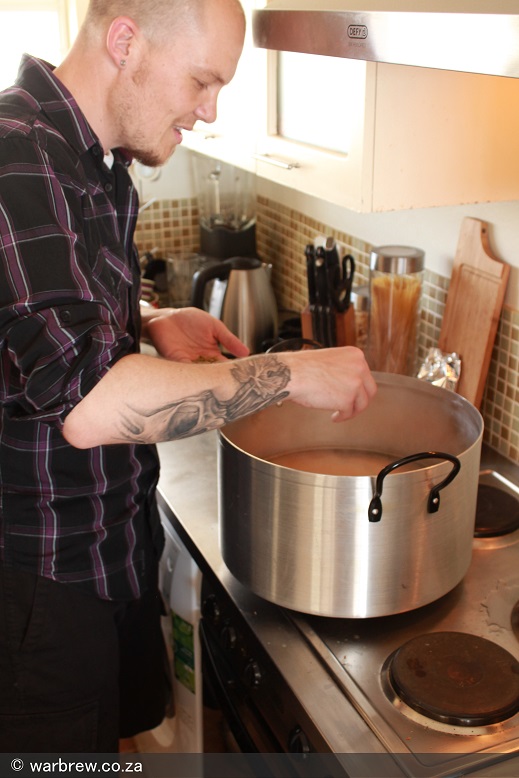
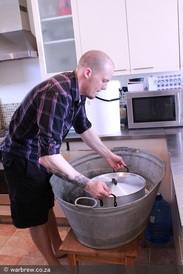
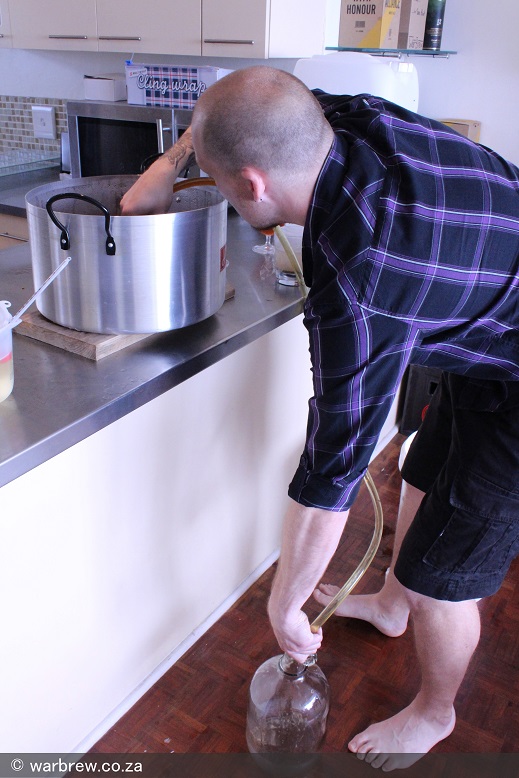
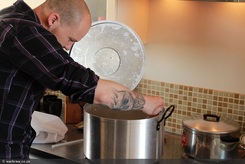
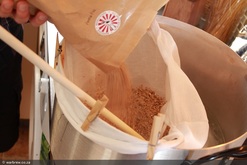
When I think of brewing beer it involves steeping some grains (in my new cooler box mash tun configuration) and transferring it to my "kettle", usually with some spillage in the process. Then starts the uphill battle to convince my little Defy to break the laws of physics to get a pot nearly bigger than itself to start a rolling boil. After this there are the hop additions to keep track of, sanitation, syphoning and all sorts of messy tasks. Throughout this process there is monitoring temperatures, making sure you keep everything clean both before and after the brewing and of course the idea of bottling will also become a reality a week or two from brew day. All this effort will eventually lead me to sit back a couple of weeks later to a (hopefully) palatable beer that I can be proud of as I think back of what it took to create. To be fair, it is not all that hard and I maintain that this is where part of the fun and at least 50% of the (dare I say) "craft" comes in. Recently two guys over in the U.S of A have devised a new system they call Picobrew. I am not going to elaborate too much as I believe what they have managed to create is pretty incredible, but to be honest I am not so sure about how I feel about the home brewing implications it holds. Check out the video (also available on the site at above link): What do you think about this new system? How do you feel it will affect/change the home brew scene? To me the whole idea of getting messy and hands-on is part of the appeal. I suspect that such contraptions will not hit our shores any time soon, but how fair is that beer compared to a beer brewed by someone using "normal" home brew equipment for a competition? Just saying... Thanks to my friend, Flemming over in Spain for sending me this link.
0 Comments
After all your hard work and effort you have finally managed to get something that now resembles some kind of beer albeit flat. In this third and final instalment of my mini all grain brewing series we discuss the process of bottling, carbonating and finally enjoying your beer – well, enjoying will come as a seperate post, but you know what I mean...so without further adieu, let's pick up right where Phase 2 left us... Technically, to ensure that the fermentation is definitely complete, one should take a sample and do two separate hydrometer readings over 24-48hours. If the readings are stable it means that all the sugar has been converted with success and that fermentation is overs. This can take anything from five to fourteen days – all depending on your ambient temperature, yeast type etc. etc. but let me not get too nitty gritty. I find I get the best results if I leave my beer for two to three weeks in the primary fermenter. Yeast is a wonderful organism that eventually cleans up after itself so the longer you leave it the more sugar it consumes and the more trub will sink to the bottom leaving you with clear, clean beer. Magic in a bottle if you will...now on to priming and what it means. Priming is basically the idea of adding some more sugar to your fermented beer to allow the remaining yeast cells to start a secondary fermentation – this time occurring in your bottle – which is the cause of the fizz or “carbonation” as the pointy nose among us would quickly point out. Needless to say this needs to be a carefully calculated exercise as too much sugar will cause some WWII re-enactments (from your bottles and your live in lady) and too little will feel like you are just sucking on your grain bag. There are countless stories on forums and other blogs about "bottle bombs", but do not let those guys scare you. From my research I have found the two main methods with which to achieve carbonation, fortunately I have some experience with both:
To succesfully complete this phase of the brewing process using my preferred, batch priming method you will require:
My process for doing a batch prime
Now the impatient wait really starts and the eager need to taste your beer will at times become unbearable and drive you to moods worse than some of the craziest PMS you have ever seen. But be strong young Jedi for the longer you let the beer sit in them bottles, the better! The minimum recommended wait is two weeks for everything to get nice and bubbly and the extra sediment to drop, but I usually do a tasting after week just to see if it will be worth the wait in the end. Before enjoying your pint you want to get it in the fridge at least 24hours before to make sure you lock that CO2 in nice and tight. This concludes the mini-series on mini all grain batch brewing how to. I sincerely hope this has been helpful to you in some way and obviously this is not the only way to go about it, but this is the way that works for me. Drop some comments and let me know what you think or how you go about making your own all grain goodness.
Next up – in what I guess will be part four technically – serving your beer to your mates and getting them to give you some constructive feedback for your next batch. Until then, I salute you! Cheers. The next phase in this series of all-grain brewing is to get your sparged out liquid to start a good rolling boil. I have found that I do not get a great rolling boil with my little Defy, but at least it is bubbling and churning a little which is better than nothing I guess. As discussed in the previous post of this series I do my mash in the same vessel that I boil my brew so there is no reason for me to transfer much as I do my sparging straight into my boiling pot also. Ideally it is best to get the boil going as soon as possible and it is recommended to boil for a minimum of one hour. There are some grains that require a slightly longer boil time to ensure all the off-flavours are cooked off as is the case with a pilsner malt for example. It would be best to do a little research on the malts you are using or even just chat to your local grain slingers as they always have sound advice. In my case I was brewing a simple ale so I set my little oven timer to 60 minutes once I saw some constant bubbling has started. Boiling is the stage of the beer where you massively influence the flavour and aroma profile and careful planning and prep work can be your best friend. What I like to do while I wait for the boil to get going is to start measuring out my hop additions and leave it out on paper towels with the time at which they need to be added. At the same time - and arguably equally important - I start to make notes in my little brewing handbook (basically just an A4 bound book I keep in my brewer's chest) – I start writing out the base malts that I have used and in what quantities, the amount of water used for the mash, the amount of water I used to sparge, temperatures, any and everything...I even write notes on what I could adjust or possibly improve for the next session. The second major reason for boiling your wort is to sterilize the mixture. Ultimately the yeasties get to do their job best when they are the only little things feasting on your sugary mix. Further implications of the boil are far reaching as it helps to cook off any off-flavours and – at the risk of writing a technical document on the subject – it also exposes a lot of the proteins and other nutrients that eventually contribute to the beer's overall “performance”. Or at least that is what I remember reading... Basic recipes will tell you exactly how long you need to boil, what hops to add at what time interval which is usually expressed as boil time remaining (so generally if it says Cascade at 15min it means after 45min of boiling or when you have 15min left of a 60min boil). There is one specific line I remember from something I watched on beer brewing once: the earlier in the boil something is added, the more of the flavour it will affect, in contrast the later something is added the more it will contribute to the aroma. Not sure how accurate this is or if I remember it correctly, but I have applied this principle with most of my brews. For the last fifteen minutes of the boil I would place the lid half-way over the pot while it is boiling in an effort to sterilize it as we will need to cover the pot for my method of cooling (I just turn it every couple of minutes). Once your boil time is over there are two important things that need to be addressed:
With cooling as with many other things there are many ways to get around it – my method involves a big metal basin and lots of ice. I run some of my iodophor-water (as discussed at the beginning of phase one) from my bucket into the basin to create an icy-sterile-solution to ensure that nothing “jumps” into my pot when I lift the lid for temperature checks...all in my head...I know...SO when my 60 min timer sounds I cover the pot with the lid completely, remove it from the stove and dunk it straight into the icy bath. This process usually takes around 30-40min to get my wort down to just below 30 degrees. During this time you can rehydrate your dry yeast (if you like) by simply making a mix of two parts cold to one part warm water and then adding the yeast. Not sure if I do this correctly, but so far I have had it work for me and other times I just add the dry yeast straight into the wort – honestly I have been getting a better reaction/result out of just adding the dry yeast straight from the packet... I brought up in Phase 1 that I start sterilizing right from the beginning, but in case you have forgotten about that this is the moment to catch a sudden wake up. Around the 15min “boil time remaining” mark would be a good time to have this ready. I have the following items sitting in the iodophor mixture in preperation:
When the wort has cooled sufficiently I simply syphon it from my pot straight into my fermenter (after a couple more swirls and discarding the iodophor mix). To aerate the wort a bit (which helps the yeast I believe) I do not drop my syphon tube to the bottom so the running liquid makes bubbles and splashes and once completely transferred I carefully shake the fermenter a bit. Next I place the funnel in the top, drop in the yeast and then lock it all down with the airlock and rubber bung. Final step is to add some water to the airlock, and then I tend to cover it with a blanket and set it aside for two weeks. As you might have noticed I have not taken any gravity readings with this brew as this is geared to very basic brewing with minimal equipment. If you are interested in working out alcohol content or accurately determining if the fermentation is complete, this would be the time to get some of that wort into a separate tube and drop in your hydrometer. Some recipes come with a target Original Gravity (OG) and Final Gravity (FG) so you can compare yours to see if you are on the right track. This is something I will delve into in a separate post with another batch probably. If you would like to do a preview taster of your beer, this would also be the place to do so to give you an idea of where it is going... Check out some pics with some descriptions on this entire process and keep checking in for the third and final phase where I will discuss my version of batch priming, bottling, “maturation” and then the most important step of all – tasting and enjoying your beers!!!
My wheelie bin is my one-stop shop for my equipment and my notes and this contains what I used for brewing my first couple of mini all grain batches. Needless to say there are more things you can have and some things can be substituted with others, but for now these are the basics. Feel free to add or comment if you have something else that works. Mashing requires
Boiling requires
Fermentation requires
Bottling requires
All grain brewing – as I have said before – should be the ultimate goal for any aspiring home brewer. What I am out to prove is that you do not need massive equipment and massive garage space to do this – although you do sacrifice a significant quantity per batch. What this means to me though is that you are able to work on many different recipes and experiment with many different styles all the while gaining the benefit of brewing more often which means more practice and ultimately more experience. Going from grain to glass and being able to predict how your brew will turn out is near impossible when you start out, however I imagine this will get much easier once you have gone through a couple of batches and can start identifying what works and what does not. This was my first all grain batch and I had a mate over as he was keen to see how this whole process goes down so after a spot of lunch we spent the rest of our Sunday putting my little Defy through its paces...I am breaking this post up into three parts so herewith Phase 1. Firstly make sure you have all the basic equipment required for all the phases as it would ruin your batch if you got halfway and suddenly realised you are missing a piece - here is a list of the basic stuff you will need for this mini all-grain batch. First off what I like to do is start with my sanitation (probably earlier than I should) so that it does not catch me off guard through one of the later steps. The easiest way to do this is to just fill up a bucket or something you have with some water and then add the recommended dose of no rinse sanitizer. At this point I add my mixing spoon, syphon tube, rubber bung with airlock and funnel - all to be used for Phase 2 later. Handy Tip: the eco-friendly way to get your sanitation bucket filled up is to stick it in your shower and catch that first bit of water that you usually run as you wait for it to warm up anyway - this way it does not run down the drain and go to waste. I use Iodophor as my sanitizer and it comes with a recommendation of 10ltrs water to 15ml Iodophor - you will be surprised to see how quickly you "waste" 10ltrs of water... If you get to this point you have hopefully purchased some grains and most likely had them milled at the same time and you are now looking at this little bag wondering how do I turn this into beer? Well, allow me to introduce you to mashing – based on the same principle as turning your little teabag with the ground up leaves into your favorite mid morning work break this process will turn all those goodies into the first phase of your beer. To get started you will need to measure out and then heat up some water in the big pot to around 73-75 degrees to prepare it for the addition of the milled grains. Once the water reaches the correct temperature remove from heat, insert the grain bag and then slowly add the grains bit-by-bit stirring it between additions to ensure that it gets wet throughout. As soon as all the grain has been added, make a knot in the bag and then cover the pot with the lid. Now you want to set your “mash tun” aside covering it well with an old blanket to ensure you try your utmost to retain the ideal mashing temperature (around 65-67 degrees). This needs to sit for an hour and can be checked every 15 to 20 minutes to ensure the temperature does not drop below 60 as this will affect the ability to extract the maximum sugars and starches from the grains. ***Update - I have started using a cooler box as a mash tun with far greater results - read about it here. From here you are not out of the woods yet as I recommend you use that second pot to start heating up some sparge water. If the temperature of your mash starts to dwindle you can simply use some of this heated sparge water to bring it up a little, but be sure to leave enough to run through the grains later. The final step in this phase completes the mashing element with something called sparging. In my case I am going to boil my wort in the same pot I mashed in so fortunately I can just rest my grain bag in my strainer on top of the same pot (I find my mixing spoon comes in handy here). Now you can start scooping the heated water from the second pot with your measuring jug and slowly start pouring it over the grain bag allowing it to run through the strainer and down into the pot with the rest of the wort. Make sure that you pour it all over the bag to ensure that you extract as much from the grains as possible. Once you have drained the bag with all the hot water you can set it aside - I usually just take the strainer with grain bag and just place it in the now empty sparge pot as it will still capture a couple of milliliters that you can add to the boil later - every bit counts! Just in case you are like me and you need some visuals, I have posted some pics in the gallery section showing exactly what has been discussed here in phase one. Now be sure to look out for the next phase where I will discuss the boiling process and ultimately getting the wort into your fermenter.
|
About me
Recently enlightened by the exciting world of craft beer I have been falling in love with new flavors, colors and smells. I do not consider myself a professional brewer (yet), but I am an enthusiast and passionate about beer and that is all that matters... Archives
October 2016
Categories
All
|